
Choosing a hosting provider for your Single Page Application is a vital step in ensuring the success of your project. Your hosting provider should be reliable, allow continuous integration via a version control platform such as Github and should allow advanced configuration such as the setting up environment variables.
Render is a hosting provider that I recommend for personal to medium-sized projects. It is a cloud-based platform that builds and runs your web apps while providing great benefits such as free TLS certificates, a global CDN, DDoS protection via Cloudflare, private networks, free teams and auto deployments from Github or GitLab.
Within this article, I will give you a step-by-step guide to deploying your Single Page Application on Render.
Step 1: Creating your account
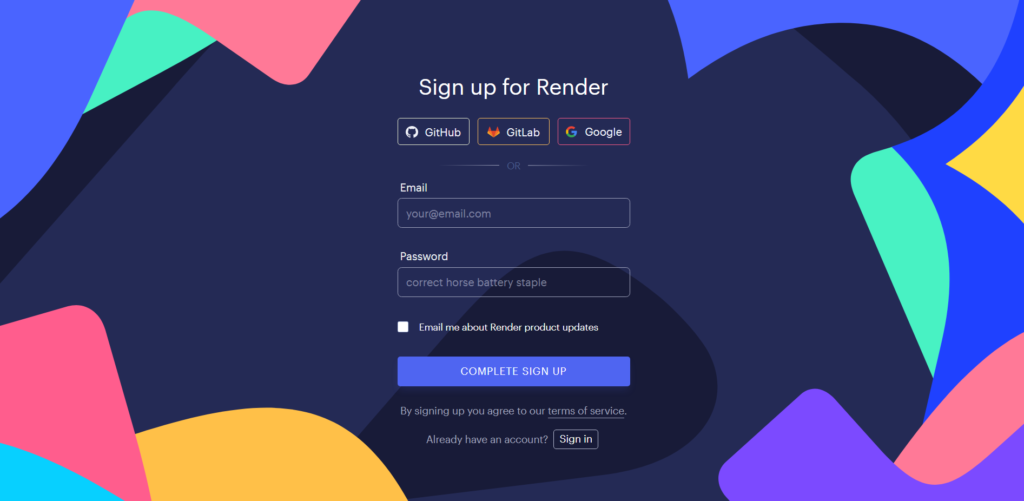
To create an account, you can visit their website at https://render.com/ and press the “Get Started” button in their top navigation bar or you can follow the link provided here: https://dashboard.render.com/register?next=/register.
Render supports an array of sign-up methods and you can choose the one that is most appropriate for your situation. Personally, I use and recommend signing up with Github (or GitLab) as it provides a convenient way to get started while reducing the likelihood of extra configuration later on.
Step 2: Understanding the Dashboard
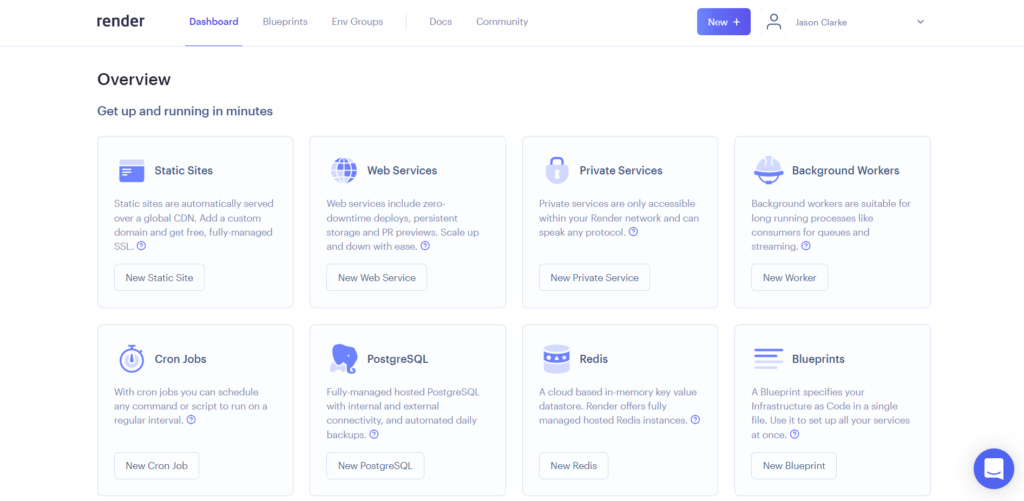
After you have logged in, you will be brought to your dashboard and this is where all the magic happens. You may notice certain services such as Background Workers, Cron Jobs and Blueprints, however, these are not necessarily needed when deploying your SPA. What you will be doing is creating a New Static Site, which is also the first option.
In case you’re wondering “Why a static site, I want to deploy a SPA?” it comes down to the terms used by Render. Render classifies all websites that are cached on their CDNs as static sites and this includes HTML websites, SPAs and SSGs. By doing this they embrace the JAMstack philosophy that the front end of a project should be separated from the backend, hence any communication between the two should be done through external API calls. A benefit of using Render is that the backend of your project can also be deployed on the service but that’s for another article.
Step 3: Deploying your project
Having selected “New Static Site” you are brought to the project selection page. From this page, you will select which project you are going to deploy. Depending on your sign-up method, the page will look different. If you signed up with your email or Google, it will look like this.
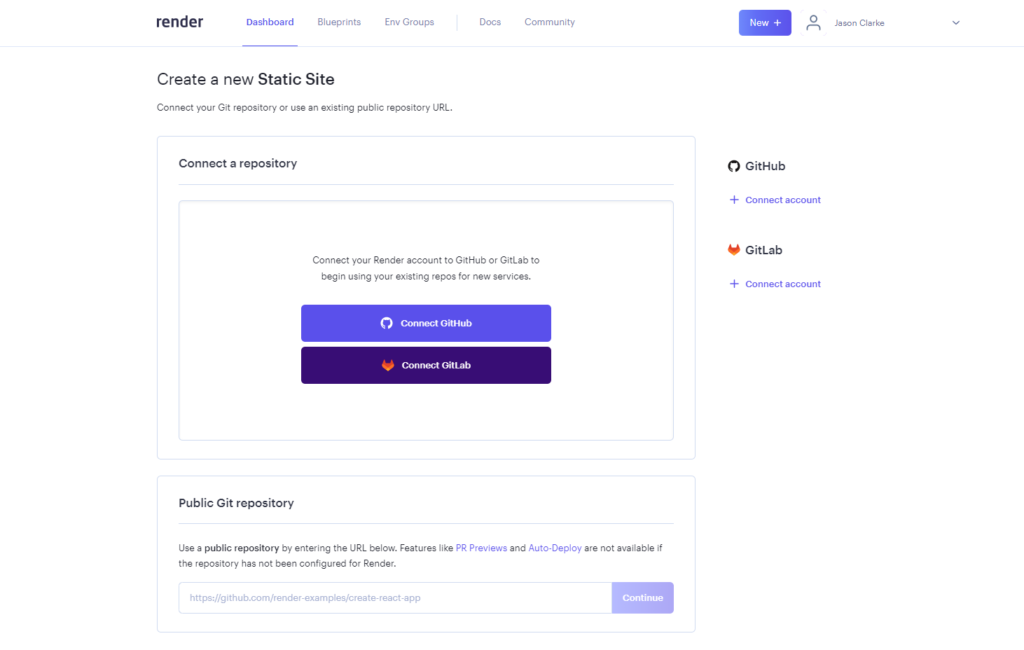
As a JAMstack platform, Render allows you to deploy your project through continuous integration. Continuous Integration is the practice of automating the integration of code changes into a single software project. In simpler terms when you push an update to your version control platform such as Github, it triggers a new deployment of your website on Render with the changes from the update, so connecting your project to a Git workflow is required.
Having connected your project to a Git workflow, your project selection page should now look like this:
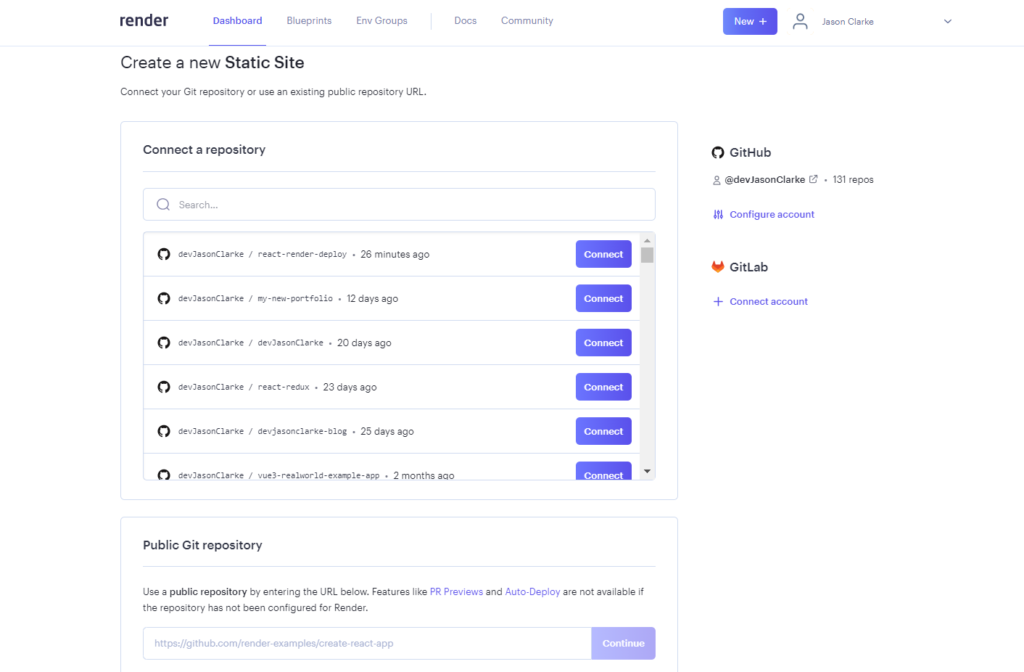
From here you can search for and start the process of deploying your static site by clicking Connect.
Deploying React and Vue SPAs on Render
In order to ensure that you grasp this concept I have created both a React and Vue SPA which you can clone or fork to deploy on Render.
React: https://github.com/devJasonClarke/react-render-deploy
Vue: https://github.com/devJasonClarke/vue-render-deploy
React
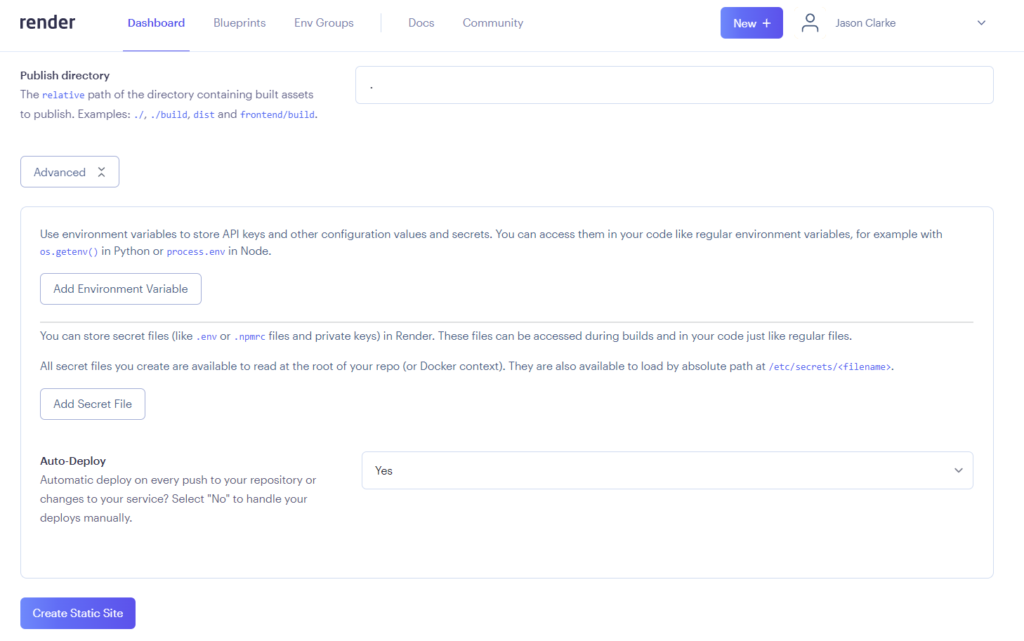
Having pressed the “Connect” button you are brought to the configuration page. Here you will enter the name of your project, the git branch which it should be deployed from, the project’s build command in yarn or npm and the publish directory which is the folder where the build will be placed.
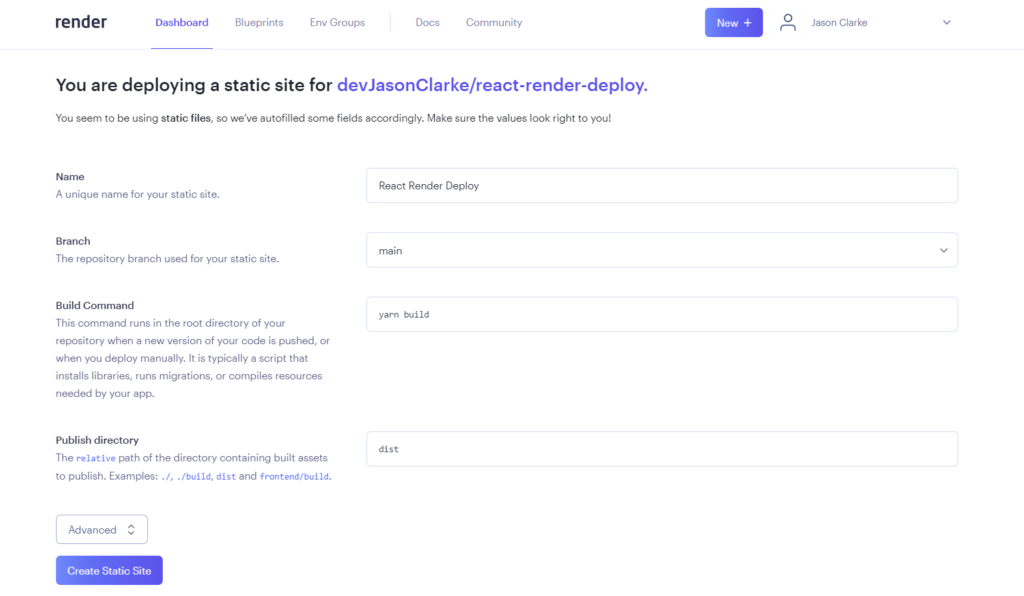
You can select the name of the project, I only have one branch which is the main branch, the build command is “yarn build” or “npm run build” and the publish directory is “dist”. After entering these details you can press the “Create Static Site” button.
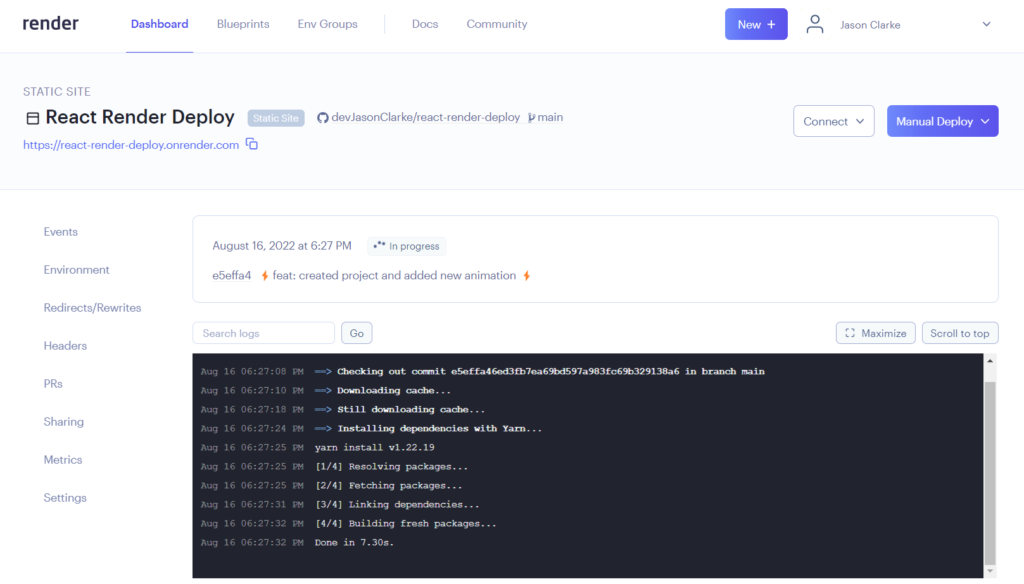
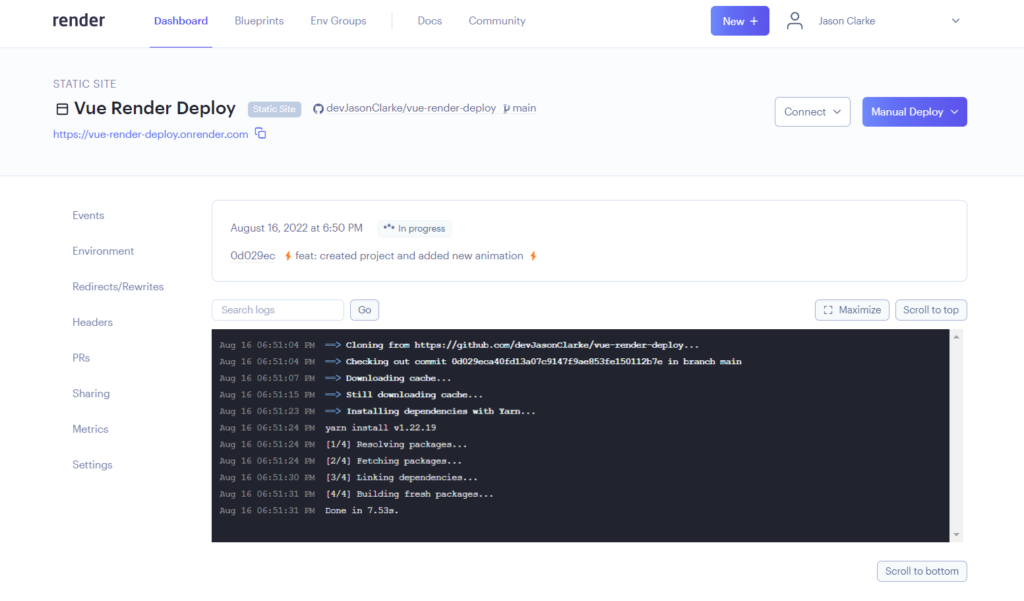
This brings you to the deployment page where you can see the logs of your project being deployed in real time.
When everything is completed and your site is deployed on Render you will get a completion message in the deployment logs.
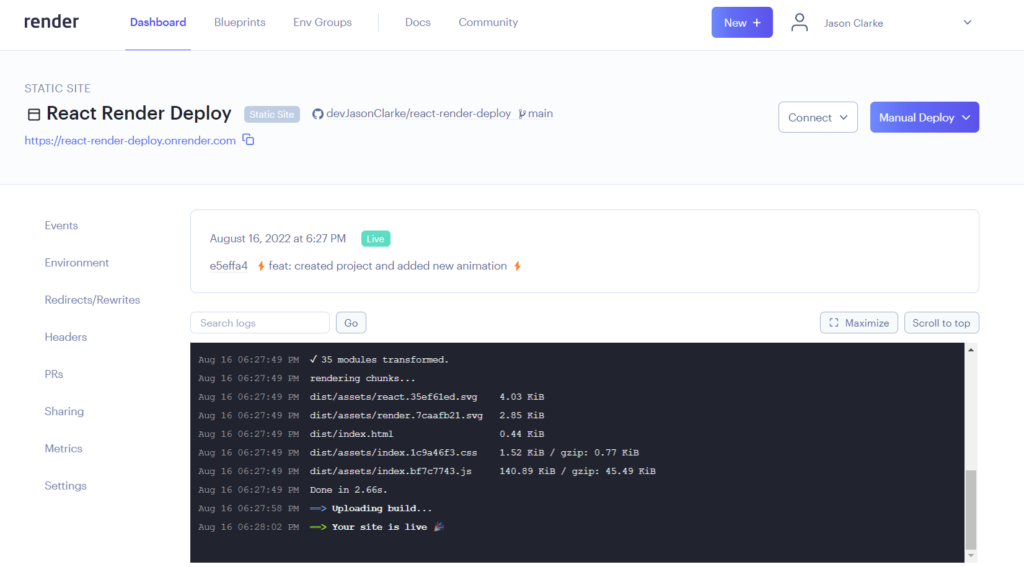
You will also be able to use the secure URL provided under the site name to view your project online.
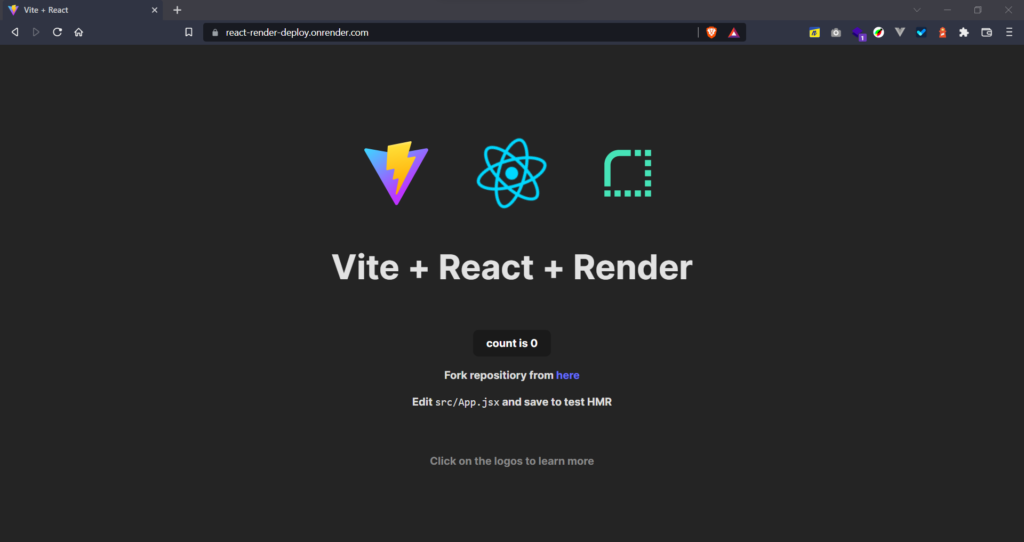
Link: https://react-render-deploy.onrender.com/
Vue
Something that should be noted is that the deployment process for Vue and React are the same. As with React, having pressed the connect button you are brought to the configuration page. Here you will enter the name of your project, the git branch which it should be deployed from, the project’s build command in yarn or npm and publish directory which is the folder where the build will be placed.
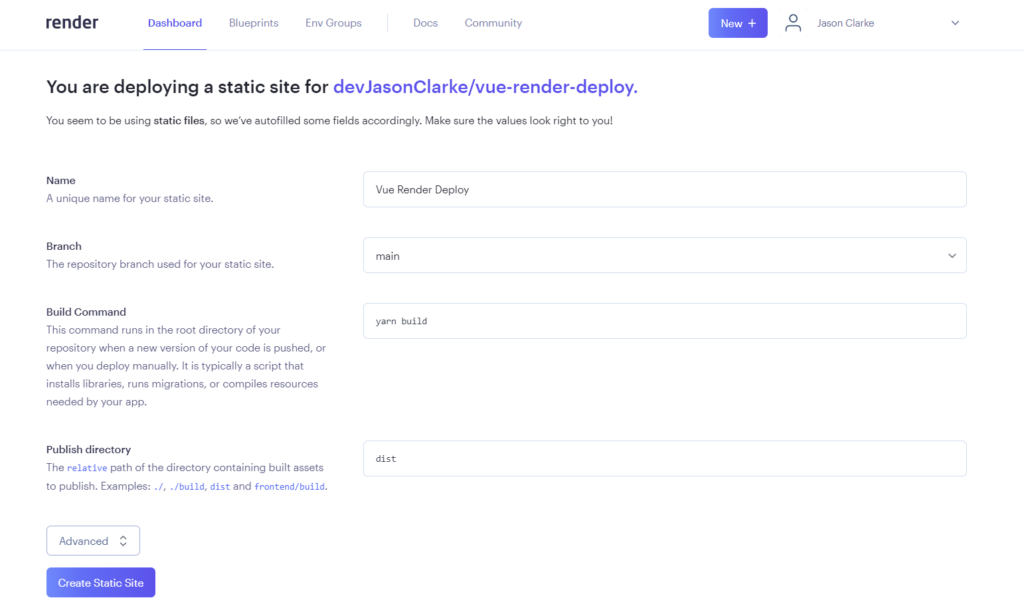
You can select the name of the project, I only have one branch which is the main branch, the build command is “yarn build” or “npm run build” and the publish directory is “dist”. After entering these details you can press the “Create Static Site” button.
This brings you to the deployment page where you can see the logs of your project being deployed in real time.
When everything is completed and your site is deployed on Render you will get a completion message in the deployment logs.
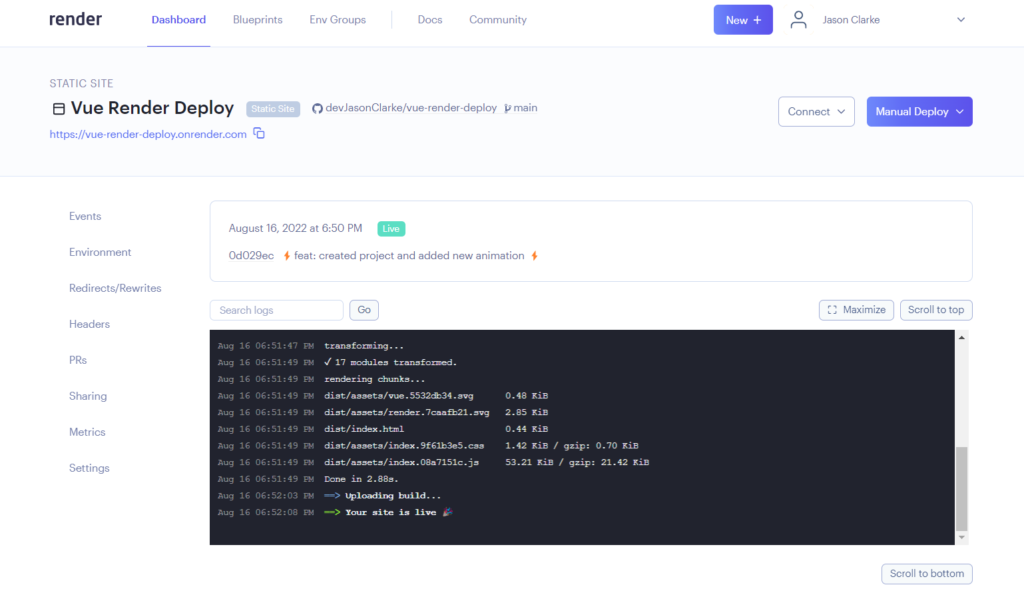
You will also be able to use the secure URL provided under the site name to view the project online.
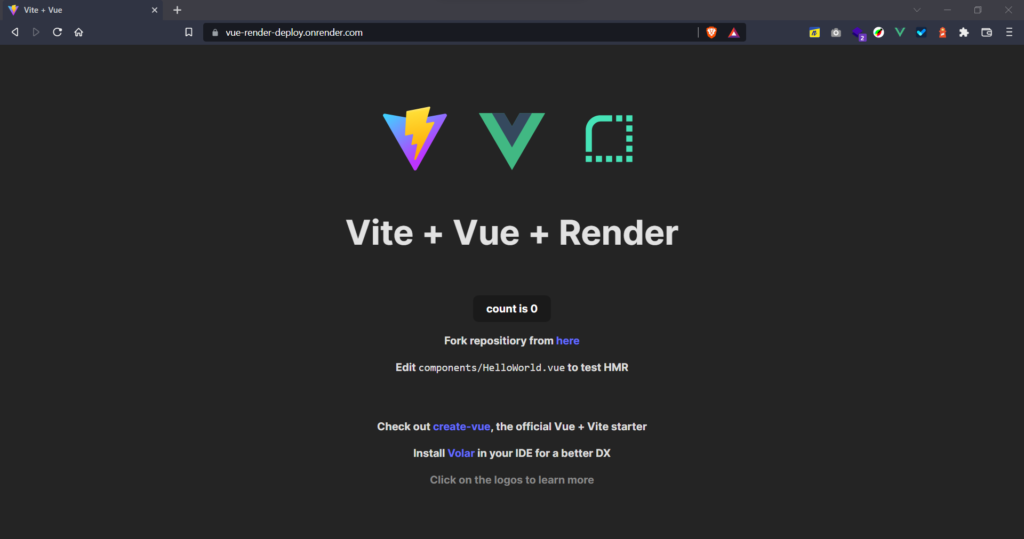
Link: https://vue-render-deploy.onrender.com/
What about other Frameworks?
Render supports the deployment of several frameworks which are listed here in their docs: https://render.com/docs/static-sites. The process for deploying them is the same as the examples given above.
What about environment variables?
Environment variables can be added to your project before deployment by clicking on the “Advance” button under “Publish Directory” and then filling out the necessary information.
It can also be added after deployment by selecting the environment option on the deployment page.
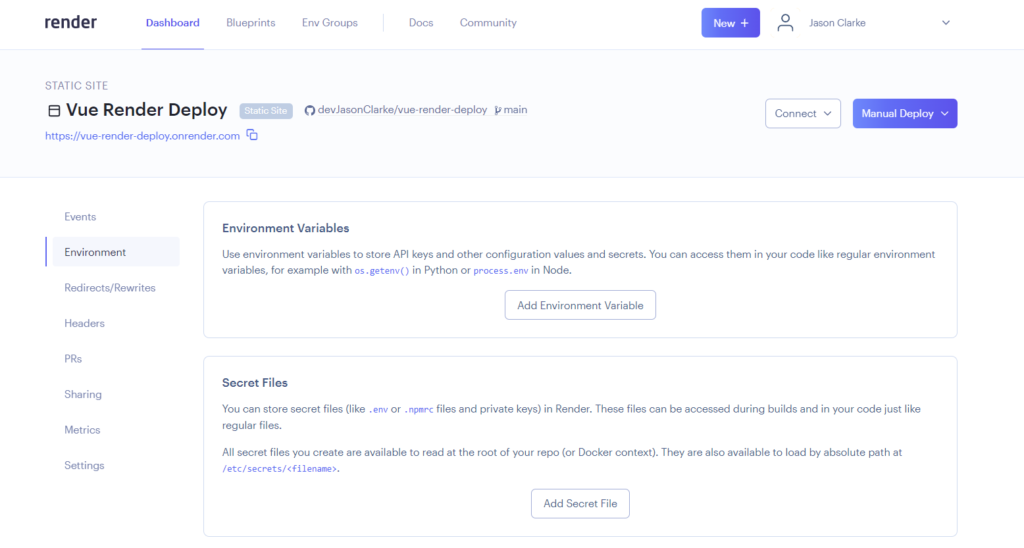
When adding new .env variables, a manual deployment is necessary for the variables to be added to your live project.
Conclusion
Congratulations 🎉, you are now equipped with the knowledge needed to deploy your own Single Page Application on Render.